The digital scrapbooking arena is totally infinite. You are only limited by unfamiliarity of your software.
Anyway here goes. As always open up a new file 12" x 12" at 300 ppi set on transparent. I also went ahead and opened all the papers and elements of Office Space in Bridge.

Here you can see that there are some absolutely stunning colors and patterns in the backgrounds and overlays.
Go ahead and open up some of the backgrounds so that you have your color palette to choose from.

Now you can start to "paint" your background using brushes together with layers and layer styles. The world is now your oyster and you can get very very creative with using brushes and layer styles.
All I have done so far is select two of the background colors and a couple of brushes from my stash and painted with the brushes on two separate layers.

Here you can see I have added a bunch of layers with an assortment of different brushes. As yet I have not added any layer styles, patterns or textures.

Having got several layers painted, I have now started adding textures and styles.

As you can see, my created background is beginning to look like a canvas that has been painted. There are thousands of styles that you can add into your photoshop program which can be found on the internet and you can also create your own.
Further addition of styles and layers as well as an overlay yield this.

At this point, I have gone ahead and merged down all the layers apart from the overlay and the transparent base layer so that I can go ahead and create a hole for a photo.

I also rotated the overlay - just because and duplicated the overlay layer just in case. You can see here that I have selected the rectangular marquee tool and made a selection on the canvas layer beneath the overlay. Go ahead and cut your selection and you should have a great hole in which to place your photo. Voila!!!

Now we can add some layer styles and shadows etc. to the layer with hole in it. In this case I have just given it a fairly dramatic drop shadow.

Now that I am looking at it, I really do not like the opacity of the overlay so I went ahead and reduced the opacity a bit.

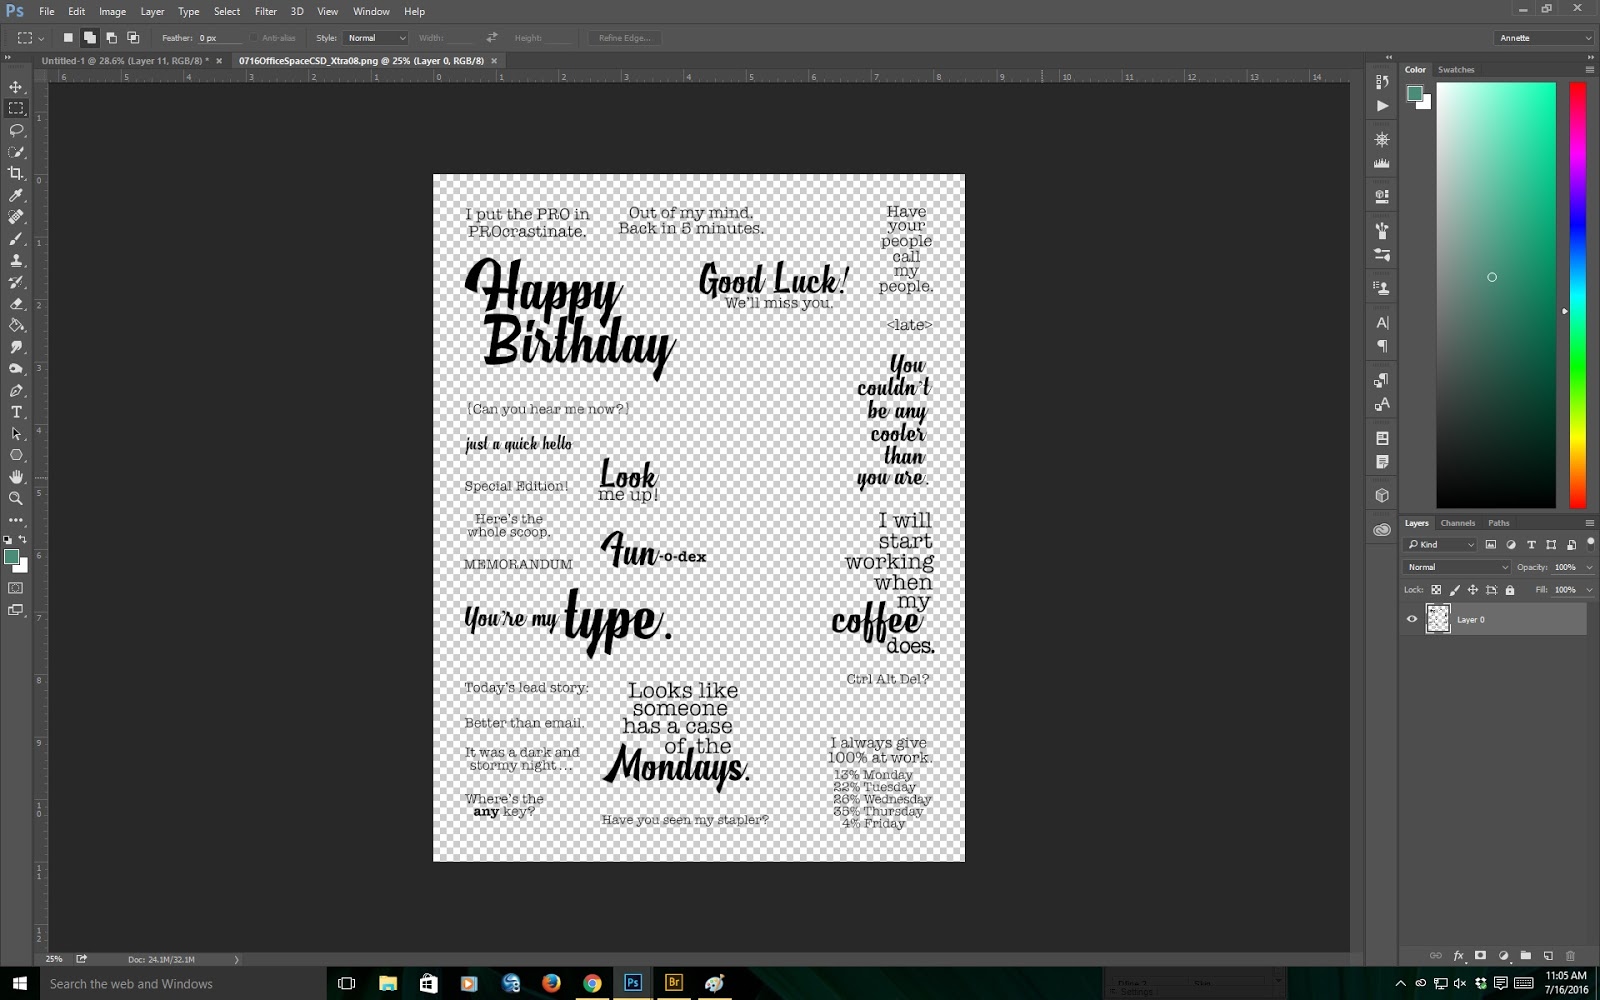
The time has come to add a stamp or two. In this case, I just want to use one stamp so I opened up the word art sheet that comes with the kit.
Before I choose which stamp(s) to use, I also want to find a photo which I can put in the hole I made. Be right back ....
still looking .....
OK I have the photo, but before I put the photo in, I have selected the stamp and placed it on the layout.

Of course you can go ahead and give the stamp some styles etc., but in this case I just wanted a little subtlety and stamped at a medium opacity in the green from the background in the kit.
Now for the final layout with photo!

I hope you like my layout and will visit my blog again.
Meantime, for those of you who play in the digital page swap hosted by Cathy Gray, I do hope that I have given you some food for thought here and that this terrific swap continues and will get some new players too.
Happy scrapbooking everyone.
WOWZA Annette that background is AWESOME! Thanks for the great tutorial!
ReplyDeleteThank you very much Julie.
ReplyDeleteStunning background, Annette! Thanks for the tutorial on creating your own background. Something I need to do more of. Guess that will be happening soon, huh?
ReplyDeleteThanks Lisa. I do that such a lot and it is a great way to experiment too.
ReplyDeleteSo lovely Annette! Such a great background for the rest of the cool elements you've added here!
ReplyDeleteThank you so much Kay. Your comments always mean the world to me.
DeleteBeautiful background Annette! Looks like digital mixed media!
ReplyDeleteThanks Donna and yes it is digi mixed media.
DeleteReally cool background Annette! I love the overlay too!
ReplyDeleteSuch a cool background!!! Great page!
ReplyDeleteLilian
The Leaf Studio