First I would like to thank everyone who has taken the time to leave me a bit of love. Your comments mean the world to me.
Now I would like to get into my post for this month. Many of you have probably seen a lot of layouts from me in our gallery. That's because I really like this kit.
Anyway this month I thought I would do a variation on a time-honored process. Years and years ago we used to have sepia photos in our albums. What I am going to show you is how to do a digital cyanotype.
I found this photo in my stash. In this case, I chose a photo that is black and white but if you choose a color photo you can very easily convert it to black and white.
To make the photo a cyanotype, go to Image>Adjustments>hue and saturation and hit enter.
At this point you will see a new dialog box at the top of which is a drop down box saying preset: default. Click on the down facing arrow and select cyanotype. Hit OK.
Now you have a cyanotype photo to work with. Here you can see I have already put my cyanotype photo
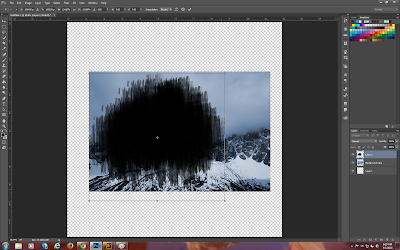
Here I have selected a mask from my stash and placed it over the photo.
Now it is placed where I want and resized. Move the mask to below the photo and select the photo. Go to the layer menu and select create clipping mask and hit enter. You now have your masked cyanotype.
I always do a merge down here so that the photo does not become detached from the mask if I want to change the order of layers in the stack. Here I have selected and placed the background I want to use and resized the photo so that it fits across the width of the paper.
I have added a bow and a sprig of leaves and have selected a stamp to use. I have made the stamp into a brush by selecting it and going to the edit menu and going to define brush preset.
And now for the final layout.
I do hope you have enjoyed this tutorial and my final layout.
Your next stop is:


