Wednesday, November 27, 2013

Fire and Ice - Club Scrap Blog Hop

For the blog hop this month I thought I would show you all how to make composite brushes from several elements.

Step 1:  Move all the elements you are going to be using onto a single transparent .png.

Step 2: Move all the elements close to or overlapping one another - you can rotate, resize etc at this point until you have something that pleases you.  Here is mine:

Step 3:  At this point you will apply a mask to every layer in your composition.  The default mask will be white and a little rule you may like to commit to memory is black conceals, white reveals.  So working on each mask with a black brush you can "hide" parts of each image that you do not wish to see in your finished stamp.

Here is a photo of my slightly changed composite.


I am sure you cannot see too much difference here.  If you want a more distressed look you can of course change the size and type of brush you use and change the opacity as well.

Step 4:  You are now ready to make all your layers into a single layer.  The best way to do that is highlight the topmost layer and hit shift+control+alt+e which will create a new layer with the merged image.  (you also need to turn off your base layer if it is not transparent).

Step 5:  Working on the merged image layer place your cursor in the layer in your layers palette and do control+left click and that should give you marching ants around your merged image.

Step 6:  To make the brush - with the marching ants visible go to edit>define brush preset and a new dialog box appears.    Give the new brush a name and hit OK or save and you are done.

Below is a layout I made with the brush I created.

Enjoy.


Your next stop will be:


Monday, November 18, 2013

Turning a black and white stamp into a color masterpiece

Hello everyone.

Yesterday Norma asked a question in the forum so I thought I would answer it here in the form of a quick tutorial.

First get your base image.


Then find the paper you would like to use as an overlay.  In this case one of the wonderful colored papers from the fire and ice kit.


In order to make the final graphic you will need to resize the paper you use as an overlay.  I resized it to 4" x 4".  To resize go to Image>Image size and new dialog box appears.  You can then specify the size and hit OK or enter.  

At this point you should have two windows open in your workspace.  The stamp graphic and resized paper.  Simply drag the resized paper onto the stamp graphic.  You will be able to move it around until you have it in your desired position.  Once you have it located where you want it go to the layers palette to make sure you have the stamp graphic and the resized paper stacked with the paper on top.

Then to make your colorful graphic go to the layers menu>create clipping mask and magically your colored graphic appears.  You are still on a transparent background here so the preserve the transparency go to the layer menu and select merge down or merge visible and then save as a png.


Now you can go ahead and use your multicolored graphic on a layout or card as I have done below.


I hope you find this useful.


Wednesday, October 30, 2013

Club Scrap Lock and Key Blog Hop

Welcome to the Club Scrap Blog Hop for Lock and Key.

I have decided to make this month more of a little tutorial on resizing photos and using the wonderful qddl pages which come with every Club Scrap digital kit.

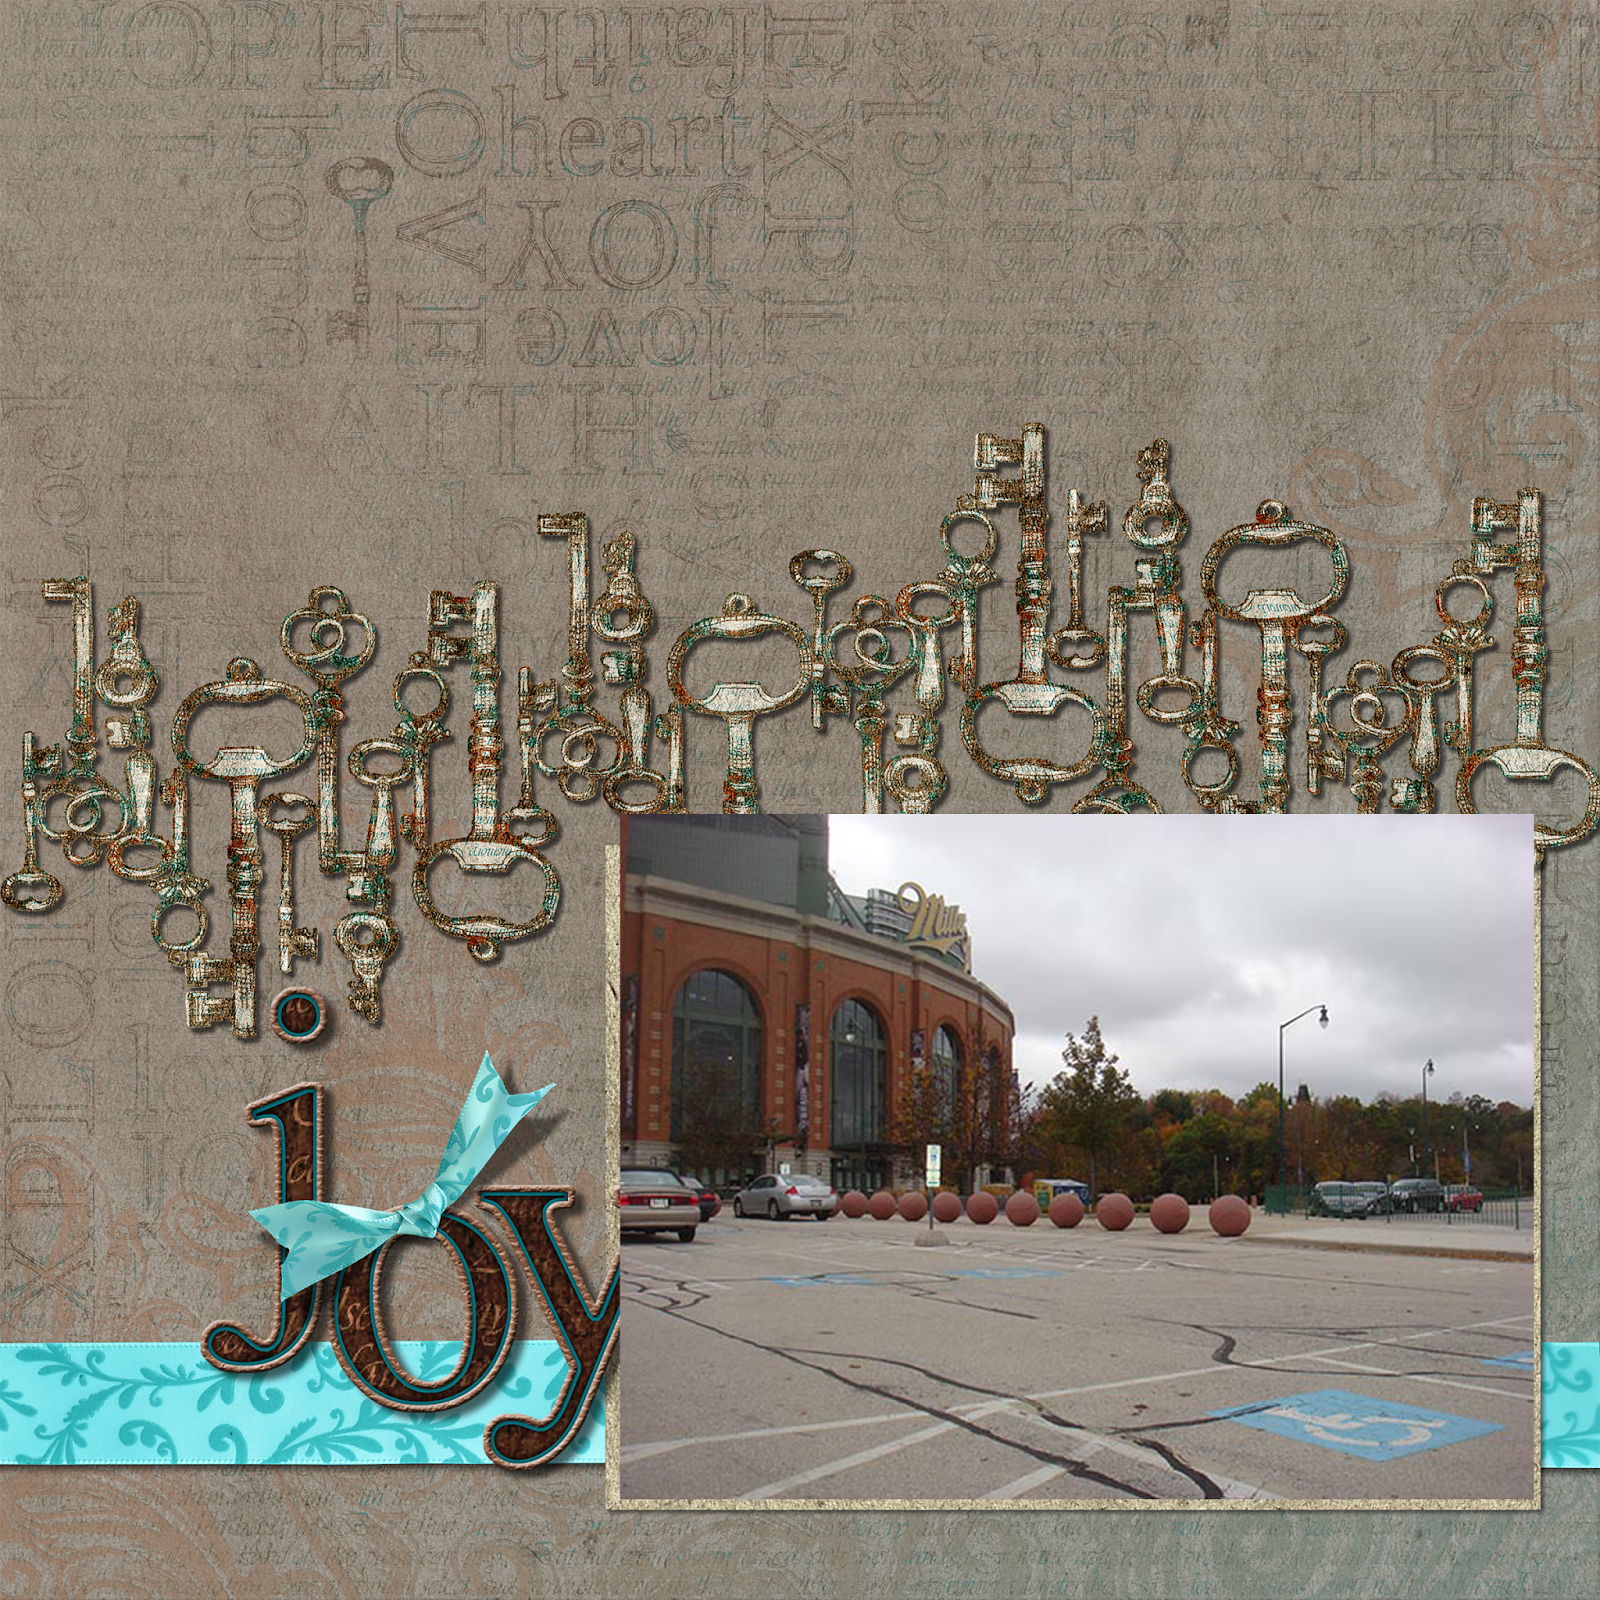
First you have to open your photoshop or elements software (or other software that you use).  Grab a qddl and a photo.  My qddl this month is one from Lock and Key and the photo was one taken at Miller field on the way from Milwaukee airport to Kimberly for Retreat.


Once you have both open simply drag the photo onto the layout.


To resize the photo make sure you are in the layer that has the photo selected and click.  You should see the photo highlighted and some "handles" in the corners.  Hit the shift key and left click holding the left click down and just drag until the photo becomes the desired size.  Alternatively, go to the edit menu > transform > scale and you can do the same thing. 


You will see that the photo overlaps the frame.  To correct this simply place the photo layer below the qddl layer in the layers palette.


Now you are done.  Of course you can add more to the qddl but in this case I think it is done!

Your next stop is 

http://clubscrapcreates.blogspot.com/ 

Thursday, October 24, 2013

What an absolutely fabulous trip to Wisconsin - I had a blast at retreat and also spent some quality time with my best friend.  A good time was had by everyone but now I am home and am preparing to post a blog entry for the Lock and Key blog hop next Wednesday.

My entry to the blog hop will be more of a tutorial based entry but it will show off the Lock and Key kit.

Stay tuned!  photo LockKey_BlogHop_badge_rsz_zps419e832f.jpg

Tuesday, October 15, 2013

So this morning I am spending a bit of time trying to get organized to pack to leave for Wisconsin very early tomorrow.  Also I am thinking about my part of the October CS blog hop and wondering what I can do to prepare that so it is ready for posting when I get back from Wisconsin in a week.  Right now my inclination is to do another quick page for the digital page swap but that may change.

Anyway right now I have two empty suitcases and a gazillion things to put in them.  Hopefully I will not forget anything but you never know.

Friday, October 11, 2013

Just a little teaser

I hope you will all take a trip around the Club Scrap blog hop at the end of this month.  I am currently working on my part of it.


 photo LockKey_BlogHop_badge_rsz_zps419e832f.jpg


Thursday, October 3, 2013

Yesterday I decided to add the following to facebook.  So today I thought I would add it here as well.  Enjoy.


http://www.kizoa.com/slideshow/d6113032k9213275o1/finley-grace

If the link does not work copy and paste into a new browser window.