First open a photo in photoshop. For this small tutorial who could resist a photo of Piers?

Make a duplicate of the photo and close out the original for safekeeping. At this point I usually make an extra duplicate layer just in case.
Change the photo to black and white via your favorite method. I use image>mode>black and white. A dialog box comes up where you can adjust each color to your own specifications. In this case I just used the default settings you see here.

Now go to the filter gallery and choose Filter>distort>diffuse glow.

Here is the selection you have just made.

You can see a lot of difference between this and your original. When the setting dialog box comes up for diffuse glow I used 5 for graininess, 7 for glow and 20 for clear amount. You can play around with the sliders to see what pleases you the most.
Then at the very bottom right corner there are two symbols. One is a trash can and the other is what looks like a dogeared piece of paper. Click the dogeared paper button and you will get a duplicate diffuse glow layer.

Next look in the sketch folder for the graphic pen filter. Again a dialog box will come up to enable you to play around with the settings. I used 12 for stroke length, 64 for light/dark balance and left diagonal for stroke direction.
Here is the finished black and white "sketch" which I had in mind.

Now for the fun part using Oopsie Daisy. Create a new blank Canvas. I always make mine 12" x 12" at a resolution of 300 ppi and transparent background. Then go ahead and select some of the wonderful papers and elements from Oopsie Daisy and open them all up.
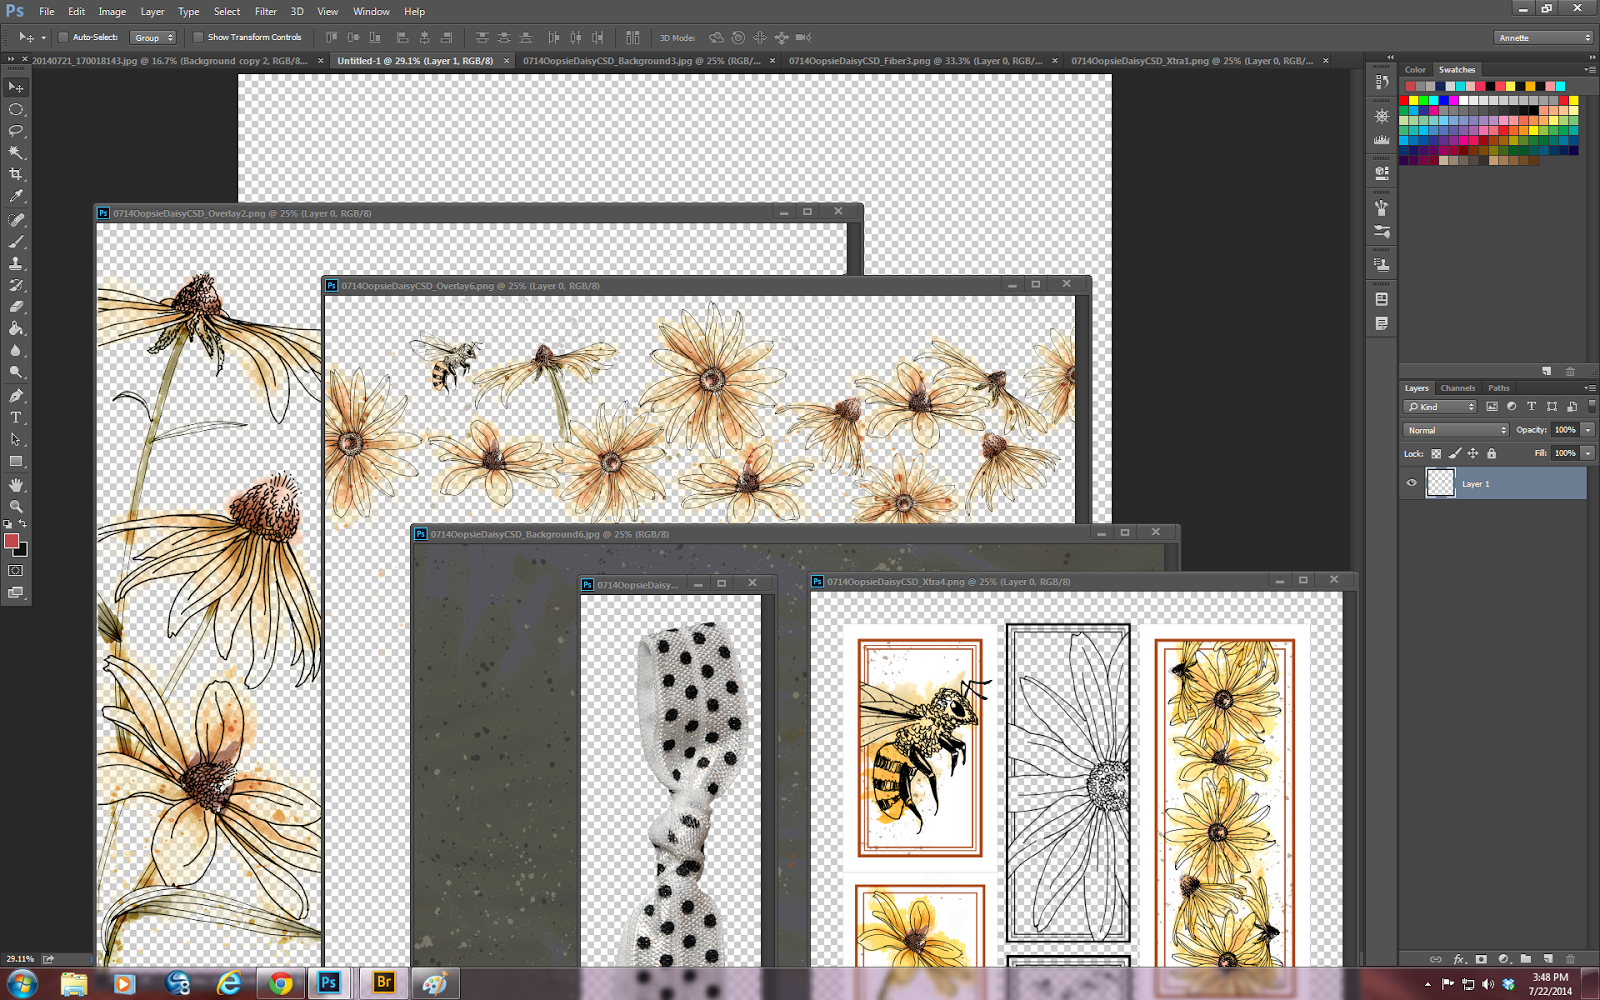
It is at this point that I wish I either had a huge monitor or two of the one that I have now. More real estate would really help here.
Anyway I have something in mind so the next pictures are the evolution of a layout.

I have inverted the darkest background, increased the size of my sketch of Piers and applied an overlay so far. Having applied a second overlay I decided that I did not like the big bee so simply erased him.

Now I have added some fibers in order to make this layout fit the challenge for PSL this week which is fibers.

Now I have to add some words so that the layout meets all the criteria. For the words I will take a look at the stamps that come with this delightful kit.

Of course I will find something to use from this sheet and convert it into a brush. Then when I have done that, I will add a black layer to my layout and apply the stamp choosing the color from the palette of yellows and oranges already on the layout.
And voila!!!

And just as a memory jogger here is the original photo.

I do so hope you have enjoyed my tutorial today and am happy to send you on to